In today’s world, security is a major concern for both residential and commercial properties. One of the most effective ways to enhance security is by installing CCTV (Closed-Circuit Television) cameras. These cameras help monitor activities, deter criminals, and provide valuable evidence in case of incidents. This comprehensive guide covers everything you need to know about CCTV camera installation, from choosing the right system to setting it up correctly.
1. Understanding CCTV Camera Systems
Before diving into the installation process, it’s important to understand the different types of CCTV camera systems available.
1.1 Types of CCTV Cameras
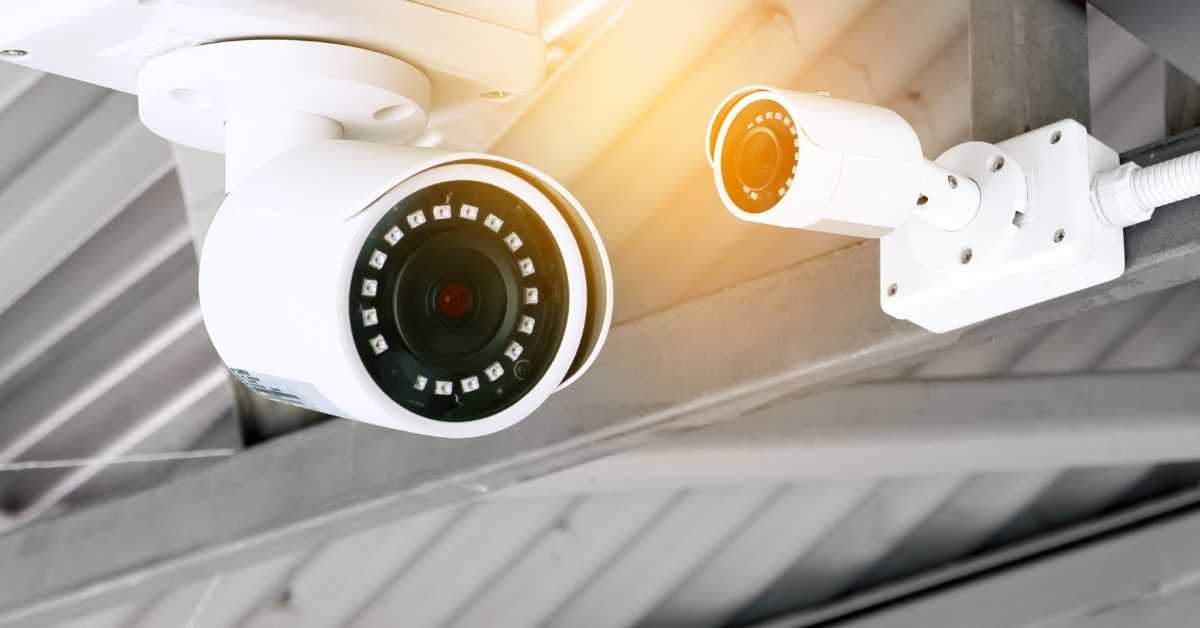
- Dome Cameras – Ideal for indoor security with a discreet design.
- Bullet Cameras – Designed for outdoor use with long-range capabilities.
- PTZ (Pan-Tilt-Zoom) Cameras – Allow movement and zoom control for enhanced monitoring.
- Wireless Cameras – Operate without cables, offering flexible placement options.
- IP Cameras – Use internet connectivity for remote access and high-definition video.
- C-Mount Cameras – Feature detachable lenses for customized surveillance needs.
1.2 Components of a CCTV System
A typical CCTV system consists of:
- Cameras – Capture video footage.
- DVR/NVR (Digital/Network Video Recorder) – Stores and manages recordings.
- Cables and Power Supply – Connect cameras to the recording system.
- Monitor – Displays live and recorded footage.
- Storage Device – HDD or cloud storage for video retention.
2. Planning the CCTV Camera Installation
2.1 Identifying Surveillance Needs
Before installation, determine your security goals:
- Do you need indoor or outdoor cameras?
- How much area needs to be covered?
- Do you require night vision capabilities?
- Should the system be wired or wireless?
2.2 Choosing the Right Location
Proper camera placement is crucial for maximum coverage and effectiveness.
- Entry Points: Install cameras at doors, windows, and garages.
- High Traffic Areas: Monitor living rooms, hallways, and common areas.
- Outdoor Spaces: Secure driveways, gardens, and parking lots.
- Blind Spots: Cover hidden areas where criminals may enter.
2.3 Legal Considerations
Before installation, check local CCTV laws and regulations to ensure compliance, especially regarding privacy rights and data storage.
3. CCTV Camera Installation Process
3.1 Tools and Equipment Required
- Drill and Screwdriver
- Cables and Connectors
- Power Supply Unit
- Monitor and Recording Device
- Network Router (for IP cameras)
- Cable Clips and Mounting Brackets
3.2 Step-by-Step Installation Guide
Step 1: Mount the Cameras
- Choose a stable surface for mounting.
- Drill holes and use screws to secure the camera brackets.
- Adjust the angle for optimal coverage.
Step 2: Run the Cables
- For wired cameras, run the cables from the camera to the DVR/NVR.
- Use cable covers to protect and conceal wiring.
- Wireless cameras only require a power source.
Step 3: Connect to the Power Supply
- Ensure each camera has a proper power connection.
- Use a power adapter or PoE (Power over Ethernet) switch for IP cameras.
Step 4: Configure the DVR/NVR
- Connect the DVR/NVR to a monitor and router.
- Assign IP addresses for network cameras.
- Adjust recording settings such as resolution and frame rate.
Step 5: Test the System
- Check each camera for a clear view.
- Ensure night vision and motion detection are working.
- Adjust angles if necessary.
4. Advanced Features and Customization
4.1 Remote Access and Mobile Monitoring
Most modern CCTV systems offer remote access through mobile apps or web interfaces. Steps to enable remote viewing:
- Install the app provided by the CCTV brand.
- Connect the system to the internet.
- Scan the QR code on the DVR/NVR to link the system.
- Monitor live feeds from anywhere.
4.2 Motion Detection and Alerts
- Set up motion detection zones to reduce false alarms.
- Receive instant notifications for suspicious activities.
4.3 Cloud Storage vs Local Storage
- Cloud Storage: Stores footage online, accessible from anywhere.
- Local Storage: Saves recordings on HDDs, requiring manual access.
5. Maintenance and Troubleshooting
5.1 Regular Maintenance Tips
- Clean camera lenses to avoid blurry footage.
- Check power connections to prevent outages.
- Update firmware for security patches.
- Backup recordings periodically.
5.2 Common Issues and Fixes
| Issue | Solution |
|---|---|
| No Video Output | Check cables and power supply. |
| Poor Night Vision | Clean lens and adjust settings. |
| No Remote Access | Ensure internet connectivity. |
| Motion Detection Not Working | Reconfigure detection zones. |
6. Cost of CCTV Camera Installation
The total cost of CCTV installation depends on several factors:
6.1 Factors Affecting Cost
- Number of Cameras – More cameras increase costs.
- Type of Cameras – IP cameras are more expensive than analog.
- Installation Charges – Professional installation adds to the cost.
- Storage Needs – Cloud subscriptions may be required.
6.2 Estimated Cost Breakdown
- Basic Setup (2-4 cameras) – $200 – $500
- Mid-Range System (5-8 cameras) – $500 – $1000
- High-End System (8+ cameras, advanced features) – $1000+
Conclusion
Installing a CCTV camera system is a smart investment for enhanced security and peace of mind. Whether you’re securing a home or business, choosing the right cameras, proper installation, and regular maintenance are key to maximizing efficiency. By following this guide, you can set up a reliable and effective surveillance system tailored to your needs.
Looking for professional CCTV installation? Contact experts to ensure a hassle-free setup!
Author Bio:-
Francesca is a passionate and experienced content writer with over 10 years in the industry. Her writing journey has taken her across various topics — home security and CCTV systems to, property tips, home improvement hacks, and even in-depth guides on choosing the best medicated mattress. She can naturally take complex ideas and turn them into clear, engaging content that readers can actually use. Whether she’s writing about the latest trends in home design or breaking down the pros and cons of different surveillance systems, Francesca brings a thoughtful and relatable voice to every piece. When she’s not typing away at her desk, you’ll likely find her with a cup of coffee in hand, browsing through interior design blogs or planning her next DIY project.